
A wind mitigation inspection evaluates your home’s ability to withstand high winds and storms. The Tips for Passing Wind Mitigation Inspection ensures its structural components are up to code. Passing this inspection not only protects your property but can also significantly lower your insurance premiums. This comprehensive guide from Solution One Inspectors will help you understand what inspectors look for, how to prepare, and common mistakes to avoid.
Understanding the Importance of Wind Mitigation Inspections
Our Tips for Passing Wind Mitigation Inspection are critical for homeowners, particularly in areas prone to hurricanes or strong storms. Here are the primary reasons these inspections matter:
1. Insurance Savings
Many insurance companies offer discounts for homes that meet wind mitigation standards. By demonstrating that your property has the necessary reinforcements, you can qualify for reduced premiums.
2. Enhanced Safety
The inspection identifies weak points in your home that could be vulnerable during storms. Strengthening these areas protects your family and belongings.
3. Compliance with Building Codes
Inspections ensure your property meets local and state regulations for storm preparedness. Homes built after updated codes often already include these features, but older homes may require upgrades.
4. Increased Property Value
A well-prepared home is more attractive to potential buyers. Passing a wind mitigation inspection signals that the property is secure and cost-efficient.
By understanding the value of these inspections, you can take proactive steps to safeguard your home and wallet.
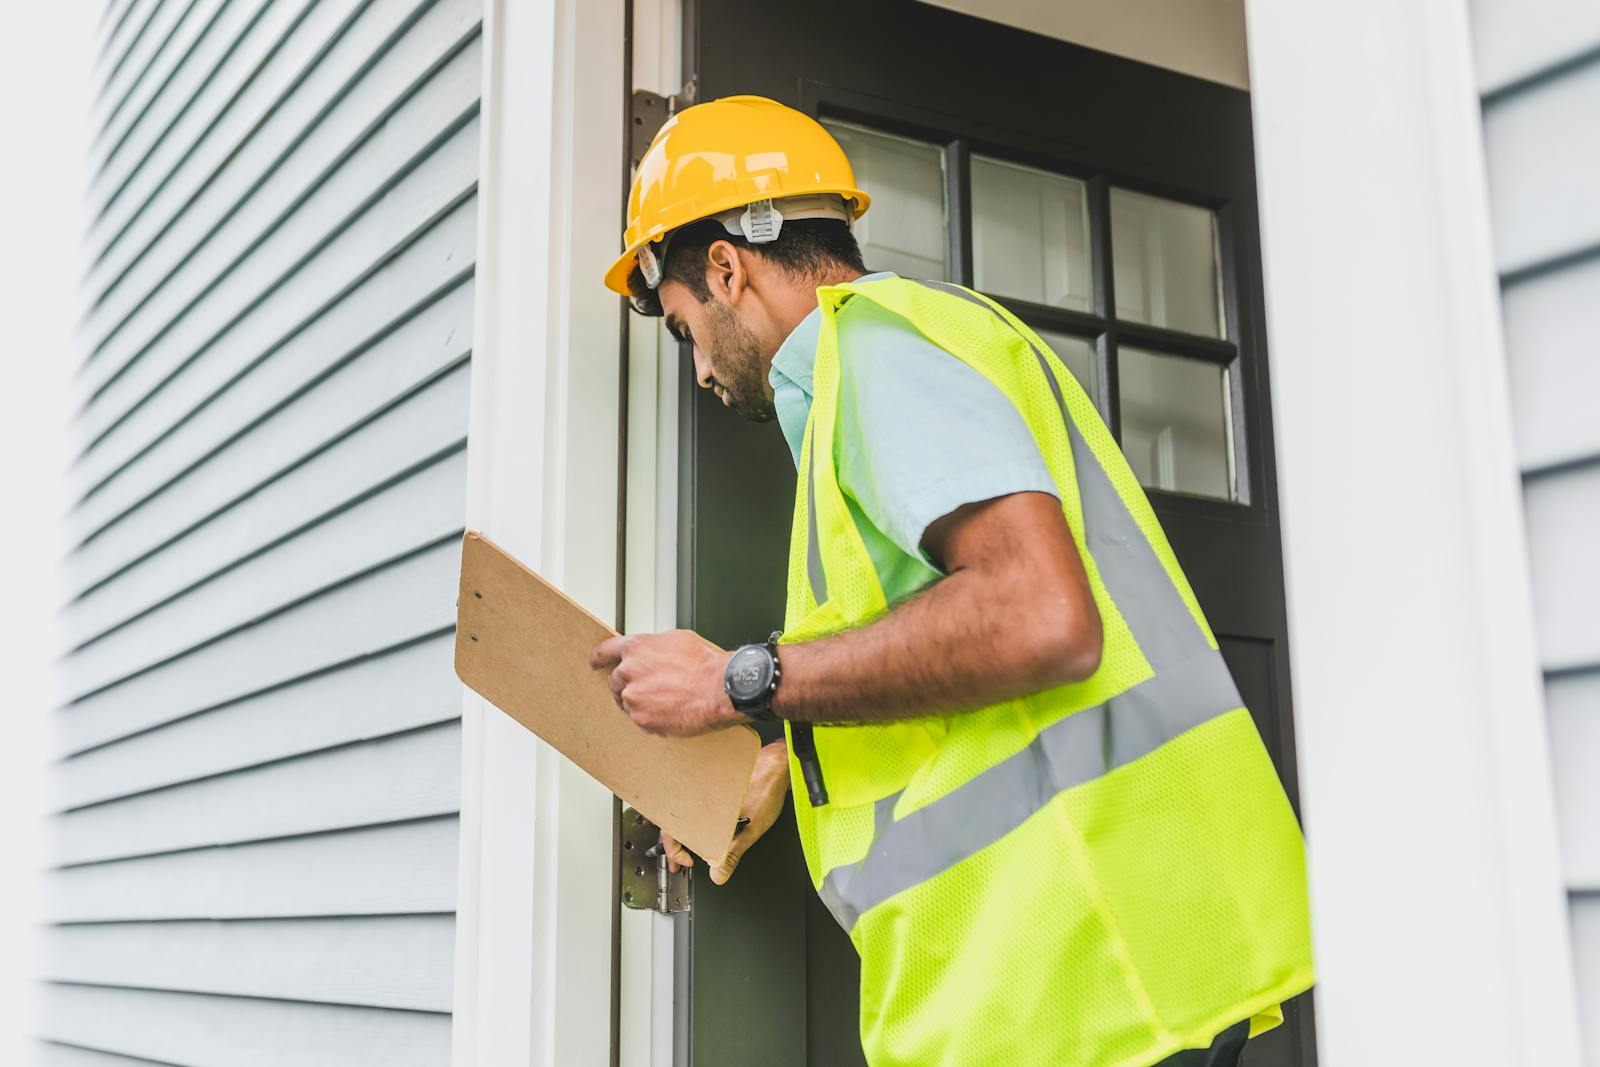
Key Features to Address for a Successful Inspection
To pass a wind mitigation inspection, focus on the critical areas inspectors evaluate. Here are the key features:
1. Roof Covering
Ensure your roof’s shingles or tiles meet wind resistance standards. Proper installation and maintenance are essential.
2. Roof-to-Wall Connections
Inspectors check for metal connectors such as hurricane clips or straps that securely attach the roof to the walls. These reinforcements prevent roof detachment during storms.
3. Roof Shape
- Hip Roofs: These offer superior wind resistance due to their sloped design.
- Gable Roofs: More susceptible to wind damage but can be reinforced with braces.
4. Secondary Water Barrier
Adding a waterproof layer beneath your roof covering helps prevent water intrusion if shingles are damaged.
5. Opening Protection
All windows, doors, and garage doors should be impact-resistant or have storm shutters installed. Properly sealed openings reduce the chance of wind entering the home.
6. Exterior Walls
Inspectors evaluate wall construction materials. Reinforced concrete and brick fare better against wind than wood or vinyl siding.
By addressing these features, you’ll be well-prepared for your inspection.
How Roof Structures Affect Wind Mitigation
Your roof plays a pivotal role in wind mitigation. Here’s why:
1. Structural Integrity
The roof is your home’s first line of defense against storms. Inspectors assess:
- Condition of materials: Look for cracks, missing shingles, or loose tiles.
- Underlayment: A waterproof layer beneath the roof covering adds extra protection.
2. Connection to Walls
Roof-to-wall connections determine how well the structure can withstand uplift forces from strong winds. Upgrading from toenails to hurricane straps or clips can make a significant difference.
3. Roof Shape Advantages
- Hip Roofs: These are more aerodynamic, allowing wind to flow over the surface.
- Flat Roofs: May accumulate debris but are less prone to wind lift.
4. Regular Maintenance
Keeping your roof in good condition is essential. Schedule periodic inspections to identify and address minor issues before they become significant problems.
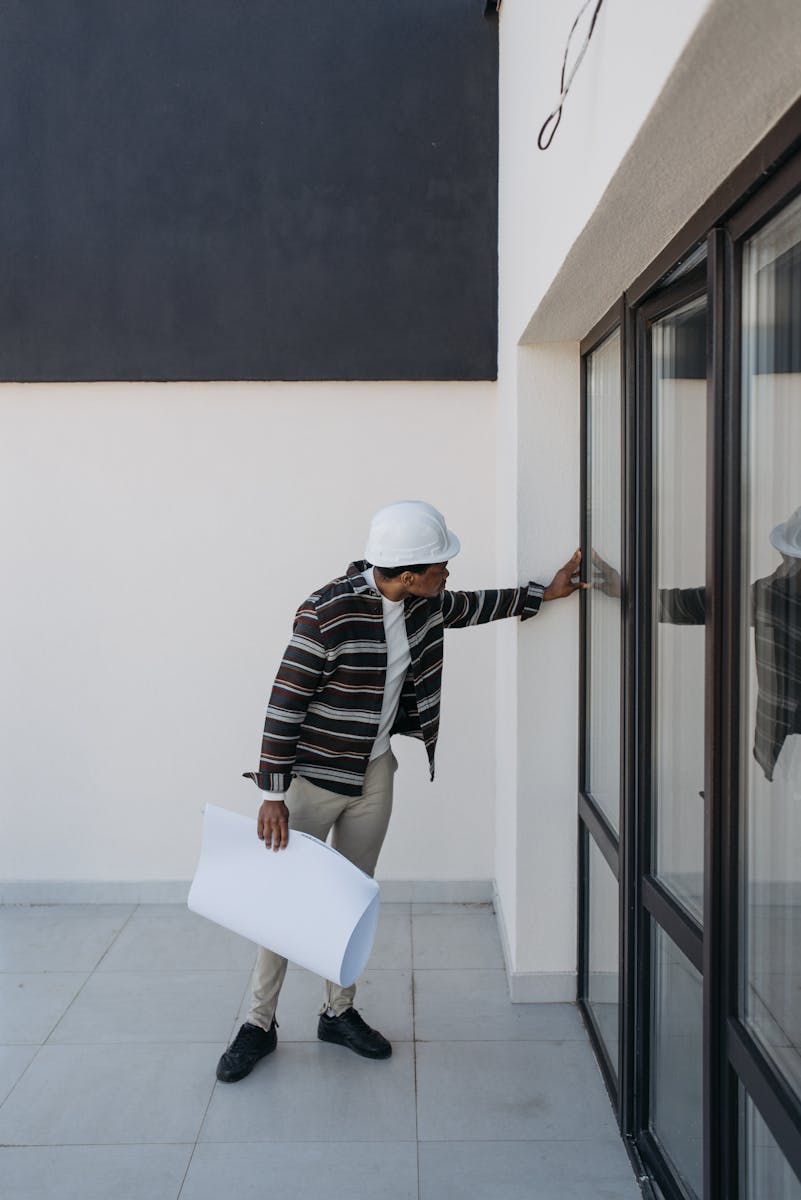
Preparing Your Home’s Windows and Doors for Inspection
Windows and doors are vulnerable points during storms. Preparing them properly can make or break your inspection results. Here’s how:
1. Install Impact-Resistant Glass
Windows and sliding doors with impact-resistant glass can withstand debris and high winds. Look for products certified to meet local standards.
2. Add Storm Shutters
If impact-resistant glass isn’t an option, storm shutters are a cost-effective alternative. Options include:
- Accordion shutters
- Roll-down shutters
- Aluminum panels
3. Secure Door Frames
Reinforce door frames with longer screws or metal brackets to prevent them from being blown open.
4. Garage Door Reinforcements
Garage doors are particularly susceptible to wind damage. Add braces or upgrade to a wind-rated model to pass the inspection.
5. Check for Proper Sealing
Ensure all openings are properly sealed to prevent wind or water from entering the home.
Taking these steps not only improves your home’s safety but also boosts your chances of passing the inspection.
Mistakes to Avoid During a Wind Mitigation Inspection
Avoid these common pitfalls to ensure a smooth inspection process:
1. Neglecting Regular Maintenance
Failing to address wear and tear can lead to failed inspections. Regularly inspect your roof, walls, and openings for damage.
2. Overlooking Documentation
Provide inspectors with proof of upgrades or repairs, such as receipts, permits, or photos. This can expedite the inspection process.
3. Improper Installation of Features
Ensure all reinforcements and upgrades are installed correctly. Improperly installed hurricane straps or shutters won’t meet inspection standards.
4. Ignoring Local Building Codes
Each region has specific requirements for wind mitigation. Familiarize yourself with local codes to ensure compliance.
5. Last-Minute Preparations
Rushing to prepare your home increases the likelihood of missing critical issues. Start early to address potential problems thoroughly.
Avoiding these mistakes ensures your home is ready for inspection and reduces stress during the process.
Frequently Asked Questions
1. What is the cost of a wind mitigation inspection?
The cost varies depending on your location and home size but typically ranges between $75 and $150. Many homeowners recoup this cost through insurance discounts. Check here for additional costing information.
2. How long does a wind mitigation inspection take?
Most inspections take 1-2 hours, depending on the home’s size and complexity.
3. How often should I schedule an inspection?
Schedule an inspection every five years or after significant renovations to ensure your home meets current standards.
4. Can I prepare for the inspection on my own?
Yes, by addressing key features such as roof reinforcements, impact-resistant openings, and proper sealing. However, consulting a professional ensures nothing is overlooked.
5. Do newer homes automatically pass wind mitigation inspections?
Not always. While newer homes are built to stricter codes, it’s essential to verify that all components meet inspection criteria.
Preparing for a wind mitigation inspection may seem daunting, but applying our Tips for Passing Wind Mitigation Inspection with proper planning and attention to detail, you can pass with flying colors. By understanding what inspectors look for and addressing key areas, you’ll protect your home and enjoy potential savings on insurance premiums. Don’t wait until storm season—start preparing today to ensure your home is safe and compliant.


